There are a few methods to help identify the physical location of an installed sensor:
- Commission sensors individually:
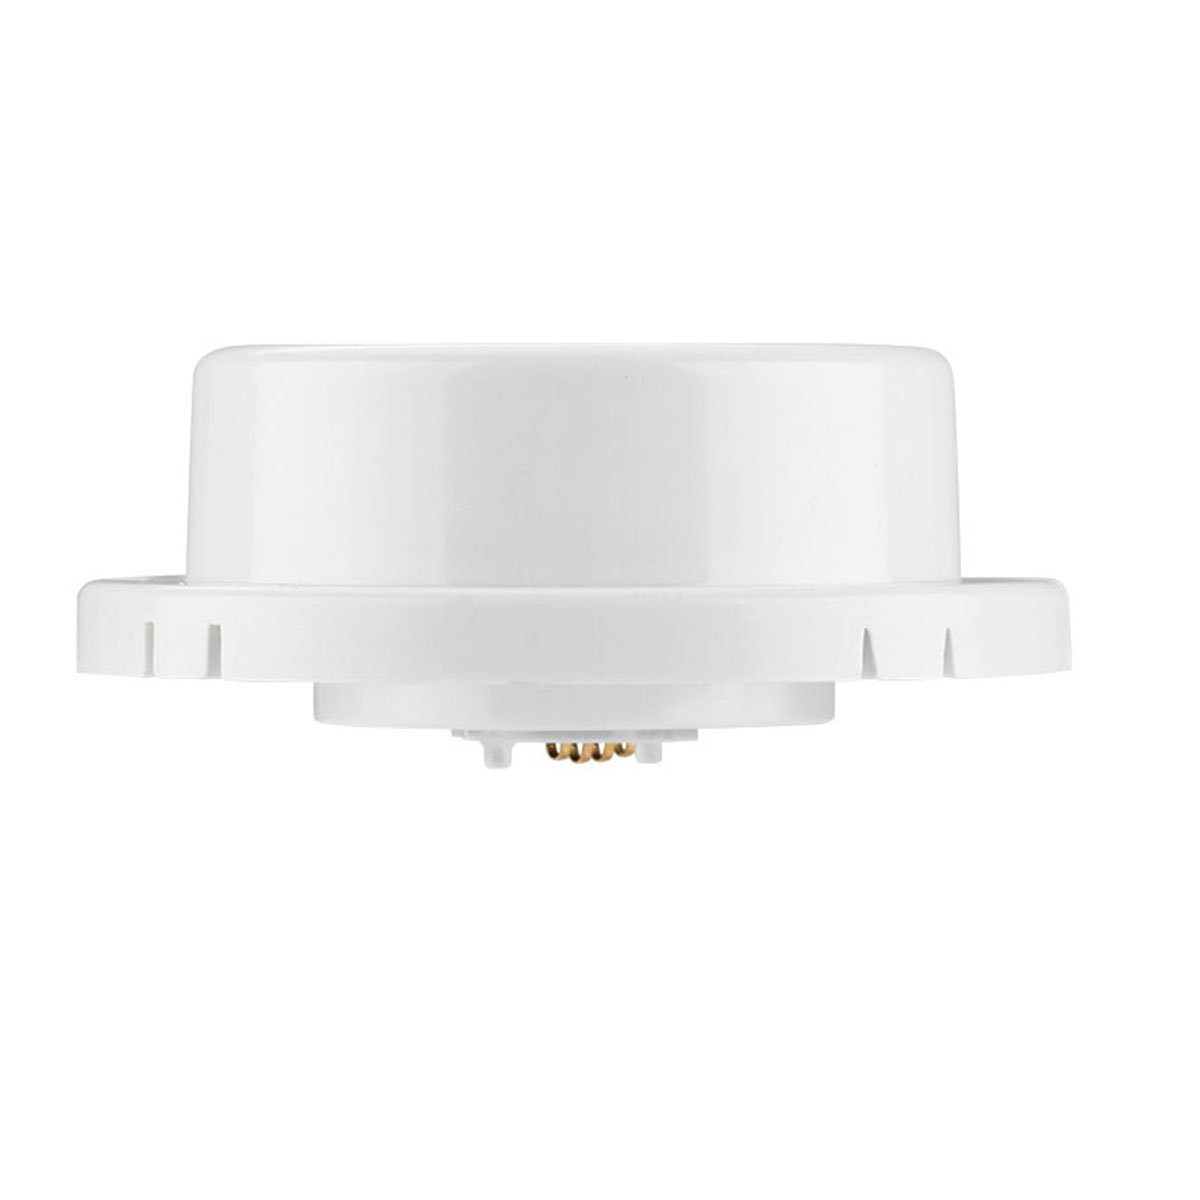
If possible, power off all ceiling sensors, then power on and commission just one sensor at a time and add it to the zone. Name each sensor as it is added to make identification easier. - Connect a non-smart fixture to the CS107 relay output, and turn it on/off to locate CS107:
Use the relay output on the sensor to directly control a standard, non-BT-enabled light.
Test using these steps:
A. Create a group on the zone called G1. No member lights in this group.
In the configuration page, bind the sensor to this G1 group. Set other parameters to proper values as required by the project (be sure to disable the photocell of G1)
B. Trigger sensor and observe response:
Return to the Group page, click the on/off toggle button to turn on/off the G1 group, and identify the CS107 location. Note there will be an audible click to help identify the relay. - Bind the CS107 with another sensor/controller. Turn on/off to locate CS107
CS107 can turn on other Keilton sensors and controllers.
Test using these steps:
A. Create a group in the Zone called G1. Add a sensor or controller to the group called L1.
Enable motion sensor function for group G1
B. In the CS107 configuration page, bind G1 to CS107. Set other parameters to proper values as required by the project (be sure to disable the photocell of G1)
C. Turn on G1. On the ‘More’ page, click ‘Motion Sensor Test’ (L1 should be turned off)
Wait a few seconds, then try to trigger the CS107 to find out which device activates L1 - Check Nearby Devices
Use the ‘Nearby Lights’ function in the app and walk below the sensor. Refresh nearby devices until the sensor appears with the strongest RSSI (negative number closest to 9). This indicates you are closest to the sensor’s physical location.


